
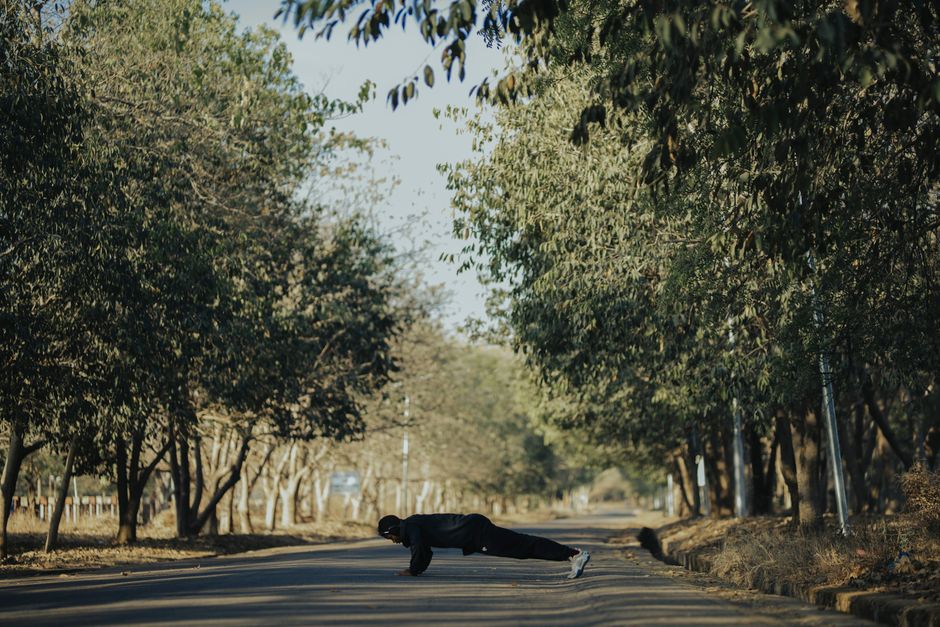
The common misconception is that winter strength training needs a full home gym, long workouts, or heroic motivation. It does not. A warm corner, 30 to 45 minutes, and a plan that repeats every week will build more strength than a complicated routine you abandon after three sessions. This is the three-day schedule I would give anyone who wants to train at home through winter without turning exercise into a second job.
Why winter is the right time to train at home
My verdict is simple: winter is a good season to build strength because a fixed indoor routine removes many of the excuses that weaken consistency. You do not need to drive to a gym in the dark, wait for equipment, or plan a workout around bad weather. You can train at the same time, in the same space, with the same short list of movements.
Strength comes from repeated effort
Muscle and strength improve when you give the body a clear challenge, recover from it, and repeat that process. The challenge can come from bodyweight, a loaded backpack, resistance bands, or a pair of adjustable weights. The tool matters less than the effort and the steady increase in difficulty.
That is the first principle: do not chase variety for its own sake. Use enough exercises to train your legs, hips, pushing muscles, pulling muscles, and trunk. Then repeat them long enough to see progress.
Warm up the room and the joints
Cold muscles often feel stiff, especially after hours at a desk. Spend six minutes walking briskly around the room, raising your knees, circling your shoulders, and performing slow bodyweight squats. You are not trying to get exhausted. You are raising body temperature and checking how your joints feel before the hard sets begin.
The best winter routine is the one you can repeat. Keep the session short enough that it still works on a busy Tuesday, and place rest days between strength sessions.
The three-day routine at a glance
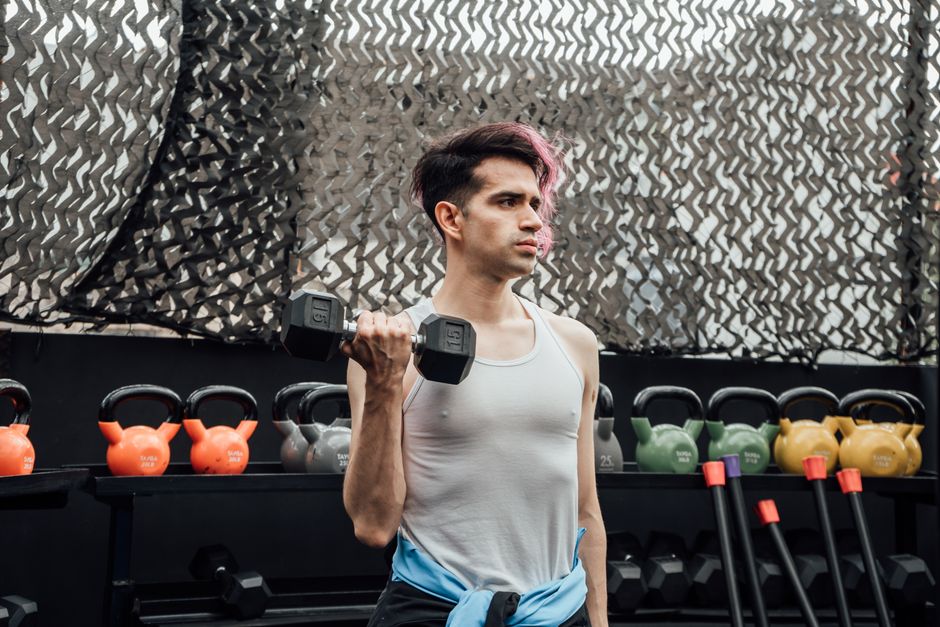
Use Monday, Wednesday, and Friday, or any schedule that leaves at least one rest day between sessions. My clear recommendation is three full-body sessions instead of six rushed workouts. The table gives you the complete weekly structure.
Weekly schedule
| Day | Focus | Main work | Sets and reps | Rest |
|---|---|---|---|---|
| Day 1 | Squat and push | Squat, push-up, split squat, plank | 3 sets each | 60-90 seconds |
| Day 2 | Hinge and pull | Backpack deadlift, row, reverse lunge, side plank | 3 sets each | 60-120 seconds |
| Day 3 | Single-leg strength | Step-up, hip thrust, pike push-up, carry | 3 sets each | 60-120 seconds |
How hard should each set feel?
Finish most sets with one or two clean repetitions still available. If your form breaks, the set is over. Beginners can start with two sets during the first week, then move to three. Rest longer for demanding leg exercises and shorter for planks or easy mobility work.
Each session should take about 35 minutes. If it takes much longer, you are probably adding exercises instead of improving the ones already in the plan.
Day 1: Build full-body strength with squat and push
Day 1 is the foundation. It trains the thighs, hips, chest, shoulders, arms, and abdominal muscles with movements that need very little space. The clear winner here is a slow, controlled routine. Fast repetitions make home workouts feel busy, but controlled repetitions make them useful.
Complete the session in this order
- Bodyweight squat: Perform 3 sets of 8 to 15 repetitions. Keep your feet about shoulder-width apart, lower until your thighs are close to parallel, and drive through the whole foot. If 15 repetitions feel easy, hold a loaded backpack close to your chest.
- Push-up: Perform 3 sets of 5 to 15 repetitions. Use an elevated surface such as a sturdy table edge if floor push-ups are too difficult. Keep your ribs down and lower your chest under control.
- Reverse lunge: Perform 3 sets of 8 to 12 repetitions per side. Step backward rather than forward. This usually makes balance easier and reduces the temptation to slam the front knee forward.
- Front plank: Perform 3 sets of 20 to 45 seconds. Squeeze your glutes, brace your stomach, and stop before your lower back starts to sag.
Make the first day harder without adding chaos
Progress one variable at a time. Add two repetitions to each set, slow the lowering phase to three seconds, or add a small amount of weight to the backpack. Do not change all three at once. A strong session ends with useful fatigue, not shaky technique and sore joints.
If you cannot complete the lowest target with control, reduce the range of motion or use an easier variation. That is not a downgrade. It is the correct starting point.
Day 2: Hinge, pull, and carry without a gym
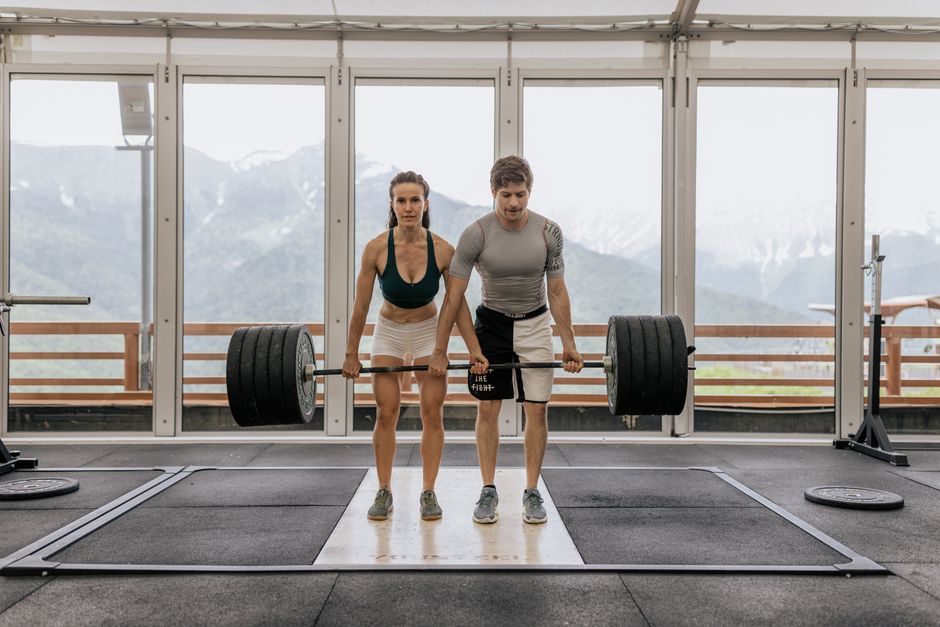
My strongest recommendation: do not skip pulling and hip-hinge work just because you train at home. Many home routines contain endless squats and push-ups but almost nothing for the back of the body. That creates an unbalanced week. A loaded backpack solves much of the problem, and a secure resistance band can add pulling work if you have one.
Train the hips, not just the knees
For the backpack deadlift, place the bag on the floor with books or water bottles inside. Stand with feet hip-width apart, push your hips back, keep the spine neutral, and lift by driving the floor away. Complete 3 sets of 8 to 12 repetitions. The weight should feel demanding by the last three repetitions without pulling you out of position.
Follow it with a single-arm backpack row for 3 sets of 10 to 15 repetitions per side. Support one hand on a chair, pull the bag toward your lower ribs, and pause for one second at the top. If the bag swings, it is too heavy or you are moving too quickly.
Finish with stability work
Perform reverse lunges for 3 sets of 8 to 12 per side, then side planks for 2 or 3 sets of 20 to 40 seconds per side. Add a suitcase carry by holding the loaded bag in one hand and walking slowly for 30 to 45 seconds. Switch hands each round.
For this day, the verdict is firm: a lighter load with a quiet, controlled hinge beats a heavy bag lifted with a rounded back.
Day 3 questions: How do you make home training progress?
What if I cannot perform a full push-up?
Start with hands on a wall, countertop, or sturdy elevated surface. Choose a height that lets you complete 8 to 12 smooth repetitions. Lower the surface every one or two weeks. Once you can perform 12 repetitions with your body in a straight line, test a floor push-up. This progression builds the same pressing pattern without forcing your shoulders to handle more load than they can control.
What should I do for legs if squats feel too easy?
Use step-ups, split squats, and single-leg hip thrusts. Perform 3 sets of 8 to 12 repetitions per side, and hold the top position for one second. Single-leg work increases the challenge without requiring a large load. Keep the knee aligned with the middle toes and use a low, stable step.
How long should Day 3 last?
A good Day 3 takes 30 to 40 minutes. Perform step-ups, hip thrusts, pike push-ups, and a loaded carry for three rounds. Rest 60 to 90 seconds between exercises. The session should finish with enough energy left for normal daily activity. If you need to lie on the floor for 20 minutes afterward, the workload is too high for a repeatable winter schedule.
My recommendation is to treat Day 3 as a quality session, not a punishment session. Clean repetitions are the goal.
Winter mistakes that stall progress
The routine works when you remove the small errors that make home training inconsistent. These are the mistakes I would fix first.
Fix these problems before adding more exercises
- Skipping the warm-up: Spend six minutes moving before loaded work, especially when the room is cold.
- Training hard every day: Keep at least one rest day between strength sessions. Walking and easy mobility are fine on the other days.
- Changing the plan every week: Repeat the same main movements for four to six weeks so you can measure progress.
- Using a badly packed backpack: Keep the load close to your back, tighten the straps, and remove loose objects that shift during a repetition.
- Ignoring pain: Muscle effort is normal; sharp pain, joint pain, numbness, or pain that changes your movement is a reason to stop and get professional advice.
When not to add weight
Do not add load when you cannot control the lowering phase, keep your balance, or complete the target range of motion. Make the movement easier, improve the technique, and build back up. If you have a recent injury, chest pain, unexplained dizziness, or a medical condition that affects exercise tolerance, get clearance from a qualified clinician before starting.
After four weeks, add one or two repetitions to the hardest sets. After six weeks, add a small amount of load or choose a harder variation. That is enough progression for winter. You do not need a new routine; you need the current one to become slightly harder while staying clean.
Always consult a qualified healthcare professional before making health-related decisions.


