
Reducing sodium does not require bland food or a complete change in the way you cook. The strongest approach combines smaller amounts of salt with acid, aromatics, heat, browning, and umami so each bite still has a clear flavor.
This is general health information, not medical advice. This is not legal advice — consult a licensed attorney.
How much sodium should home cooks cut?
The practical target for most adults is to stay below 2,300 milligrams of sodium per day, an amount roughly equal to 1 teaspoon of table salt. That figure covers the entire day, not one dish. People with high blood pressure, heart failure, kidney disease, or another condition may receive a lower target from a clinician.
Use a staged reduction instead of a sudden ban
A staged reduction usually works better at home. For one week, measure the salt you already use. Do not change the recipe yet. During the second week, remove about one-quarter of the added salt and replace the missing flavor with acid, herbs, garlic, onion, or toasted spices. During the third week, remove another small portion if the food still tastes satisfying.
This approach gives taste preferences time to adjust. It also shows where sodium enters the meal. A cook may discover that the pan salt is modest while packaged broth, cured meat, bottled sauce, or a seasoning blend supplies most of the total.
Read the whole meal, not one ingredient
A low-sodium dinner can still become high in sodium when several modest sources appear together. For example, a bowl may contain salted broth, a savory sauce, cheese, and a packaged grain. Each choice may seem reasonable alone, but the combined total can climb quickly.
For a useful home check, write down the sodium listed on every packaged ingredient, add the amounts used, and divide by the number of portions. Fresh vegetables, plain grains, unsalted nuts, dried beans cooked without salt, and fresh meat usually give you more control. The winning strategy is not to fear every processed ingredient; it is to avoid stacking several salty ingredients in the same meal.
Build flavor before adding salt
The best first move is to make the food more aromatic before making it saltier. Use the sequence below for soups, vegetables, grains, beans, eggs, poultry, and sauces. It takes minutes and works with ordinary pantry ingredients.
- Brown a base. Cook onions, mushrooms, meat, or sturdy vegetables until their edges turn golden. Browning creates deeper savory notes and reduces the need for a salty finish.
- Bloom dry spices. Stir cumin, paprika, coriander, curry powder, black pepper, or chili flakes into warm oil for 20 to 40 seconds. Heat releases aroma that would remain muted if the spices went straight into water.
- Add a fresh aromatic. Use minced garlic, grated ginger, scallions, celery leaves, parsley, cilantro, basil, or rosemary. Add delicate herbs near the end so their scent stays clear.
- Choose one acid. Add lemon juice, lime juice, rice vinegar, red wine vinegar, or a small amount of tomato. Start with 1 teaspoon per four servings, taste, and increase slowly.
- Add umami with care. Mushrooms, unsalted tomato paste, roasted vegetables, nutritional yeast, or a small amount of fermented seasoning can add depth. Check the label because many fermented sauces contain substantial sodium.
- Finish with texture. Toasted seeds, crushed unsalted nuts, crisp vegetables, or fresh cucumber make a low-sodium meal feel more complete. Texture cannot replace sodium, but it can make the dish more satisfying.
Match the swap to the cooking method
Roasted vegetables benefit from high heat, oil, pepper, garlic, and a sharp finish. Beans need aromatics, smoked spices, tomato, or mushrooms because their flavor develops slowly. Fish often needs acid and herbs more than a heavy spice blend. Eggs respond well to black pepper, chives, smoked paprika, and a small amount of hot sauce with the sodium counted.
Taste at three checkpoints
Taste after browning, again after the main liquid has reduced, and once more immediately before serving. These checkpoints catch three common errors: underdeveloped aromatics, over-concentrated broth, and last-minute over-seasoning. A spoonful of the finished food should cool briefly before tasting because heat can hide both saltiness and acidity.
The best sodium swaps by cooking job
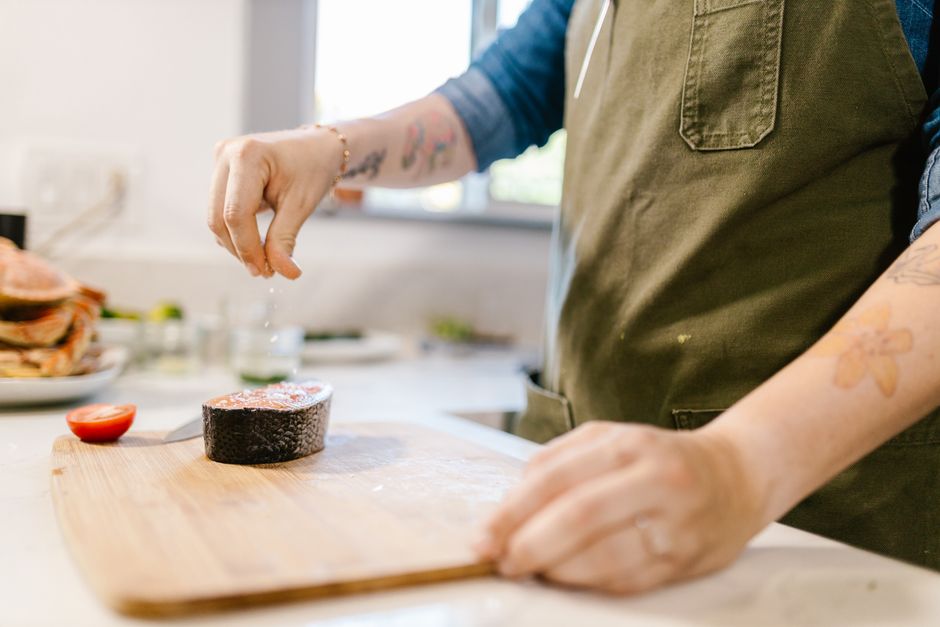
The table below gives practical starting points. Values are approximate because brands, crystal size, and serving sizes vary. Use the nutrition label for packaged ingredients, but the cooking role stays consistent.
| Cooking job | Lower-sodium option | Starting amount | What it contributes |
|---|---|---|---|
| Saltiness | Measured table salt used late | 1/16 teaspoon per serving | Surface salt impact with a small quantity |
| Sharpness | Lemon juice or vinegar | 1 teaspoon per 4 servings | Brightness and balance |
| Savory depth | Browned mushrooms or unsalted tomato paste | 2 tablespoons per 4 servings | Roasted, meaty flavor |
| Warm aroma | Toasted cumin, paprika, or coriander | 1/2 teaspoon per 4 servings | Fragrance and gentle bitterness |
| Freshness | Parsley, cilantro, basil, or scallions | 2 tablespoons chopped | Green aroma at the finish |
| Heat | Black pepper or chili flakes | 1/8 teaspoon, then taste | Intensity without relying on salt |
| Crunch | Unsalted seeds or nuts | 1 tablespoon per serving | Texture and roasted flavor |
| Broth balance | Water plus onion, garlic, herbs, and acid | Build in stages | Control over the final sodium level |
Use acid when the food tastes dull
If a soup or vegetable dish tastes dull but not truly under-seasoned, acid is usually the strongest first correction. Add a small amount, stir, and wait 30 seconds before tasting again. Too much acid creates a thin or sour flavor, so add it in teaspoons rather than tablespoons.
Use browning when the food tastes weak
If the dish tastes watery or one-dimensional, browning is the better answer. Spread vegetables in a single layer, leave space between pieces, and let moisture escape. Crowding traps steam and prevents the caramelized edges that create flavor without extra sodium. For a clear verdict, choose browning over another seasoning blend when the base ingredient lacks depth.
Why low-sodium meals taste flat
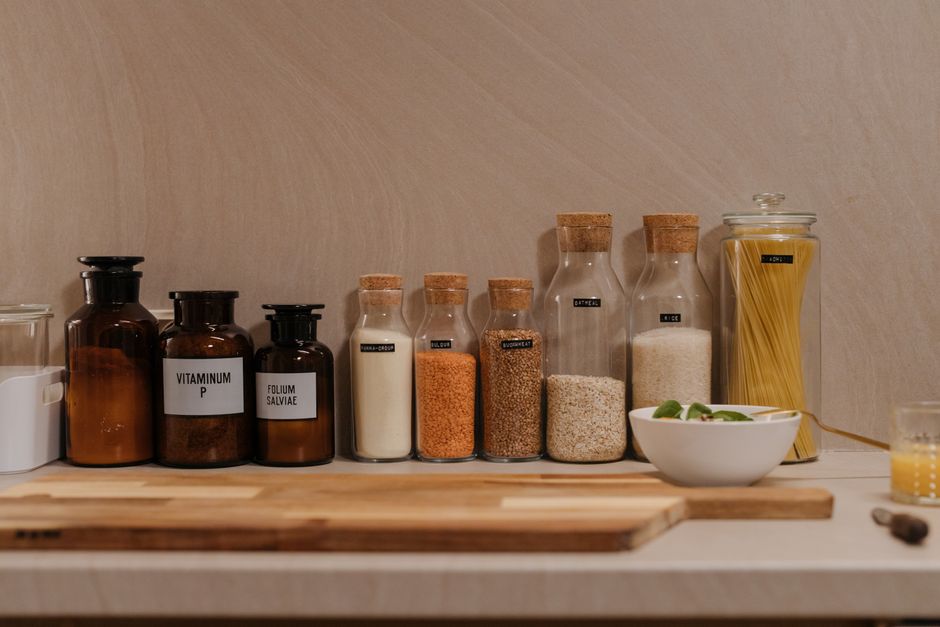
Why does removing salt expose bitterness?
Salt can soften the perception of bitterness, so vegetables such as kale, Brussels sprouts, eggplant, and some beans may taste harsher after a sudden reduction. Counter that effect with roasting, blanching, caramelized onions, a little fat, or a bright acid. Do not respond by adding large amounts of sugar; sweetness can hide bitterness for a moment while leaving the dish unbalanced.
Why does a low-sodium soup taste watery?
Soup often tastes watery because the cook has reduced salt but not concentrated the other flavors. Simmer uncovered to remove excess water, add browned vegetables or mushrooms, and finish with lemon or vinegar. If the broth came from a packaged source, check the label before adding more seasoning because the sodium may appear after the soup has reduced.
Why did the meal become salty after reheating?
Reheating can evaporate water and intensify sodium. Keep a portion of unsalted cooking liquid aside, then stir in a small amount if the leftovers taste too concentrated. Adding more solid food can also spread the salt across extra portions. Avoid adding sugar as a rescue tactic; it masks the problem rather than correcting the concentration.
A simple plan for lasting sodium swaps
The best long-term plan is to change one cooking habit at a time and keep the foods that make meals enjoyable. Start with the dish you cook most often, because repeated practice gives you a clearer sense of how much acid, browning, spice, and salt you actually need.
- Week one: measure every salty ingredient, including broth, sauces, cheese, cured foods, and seasoning blends. Record the number of portions.
- Week two: replace one salty packaged ingredient with an unsalted or lower-sodium version, then add fresh aromatics and acid.
- Week three: reduce added salt by one-quarter in two familiar recipes. Taste after the food rests for several minutes.
- Week four: create a household flavor base of chopped onion, garlic, herbs, citrus, vinegar, pepper, and toasted spices. Use it before adding salt.
Know the mistakes that undo the swap
Do not assume a product labeled low sodium makes the entire meal low sodium. Do not pour seasoning blends freely when the label lists salt near the top. Do not replace every salt reduction with hot sauce, cheese, cured meat, or bottled sauce. Do not use a potassium-based substitute before checking kidney health and medications.
Judge success by the full meal
A successful sodium swap is not a dish that tastes like a laboratory version of the original. It is a meal with clear aroma, balanced acidity, satisfying texture, and enough seasoning to make the main ingredient recognizable. Home cooking will keep moving toward more precise flavor control as people learn that lower sodium is not a single substitute; it is a better sequence of decisions.
Medical Disclaimer: This content is for informational purposes only and does not constitute medical advice. Always consult a qualified healthcare professional before making health-related decisions.